
New to One-Key? Starting out fresh with a new inventory system may seem like a daunting task.
In this article, we’ll cover some essential features to help you hit the ground running in the app.
Add Items to Inventory and Bulk Inventory Upload
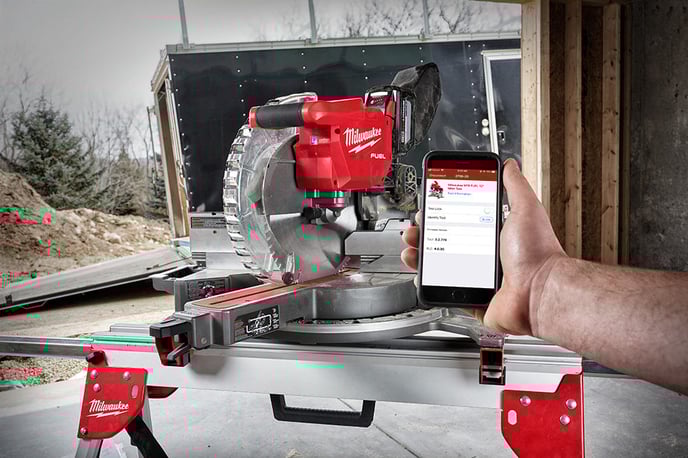
The first step to getting started with One-Key, particularly when you purchase a One-Key compatible tool, is adding it to inventory. The sooner, the better!
IMPORTANT: It’s crucial to add your item to inventory as soon as possible. Why? For the tool security and tracking features (which we’ll discuss below) to work, the item needs to be in your inventory to indicate ownership of it. In the event that your tool is stolen before it’s been added to inventory, we won’t be able to verify that the item is yours. You won’t be able to lock the item out, and there’s nothing stopping the thief from adding your item to their inventory and claiming ownership of it. Therefore, it’s good practice to add your items to inventory as soon as possible.
How to Add Items to Inventory
So, how do you add an item to inventory?
We’ve documented the various ways to add inventory depending on the type of item you’re adding:
- Learn how to add a One-Key compatible tool to inventory.
- You can also add tools that do not have One-Key built into them by default:
It’s also worth noting: For tools that don’t have One-Key tracking built into them, we recommend adding a tracking method, whether that’s accomplished with equipment tagging through basic tool crib identification like barcodes or asset ID tags, or through a more advanced tracking solution, like our legacy TICK Tracker, Bluetooth tracking tags, GPS tracking, and the like.
Bulk Upload and Changes
If you already have your inventory documented in a spreadsheet, you can use our bulk upload tool to upload all of your items all at once.
You can also make quick changes to your entire inventory in bulk via your mobile device from the field. Learn how to make bulk changes.
Tool Tracking and Security Features
There are some device settings needed to be set up in order to enable tool tracking functionality, namely:
- Location Services to be able to triangulate your items’ locations in relation to where you are located, and to deliver timely location updates
- Bluetooth in order to scan for and interact with nearby devices.
Learn how to set up tool tracking. Once you’ve added your tools to inventory, if they are One-Key compatible, you’ll be able to enable their built-in security features. For example, you can lock them out should they become stolen or lost, rendering them useless to would-be thieves; you can also lock tools out as a safety feature, such as ensuring dangerous table saws on active jobsites are not live afterhours.
New to Bluetooth tracking? There are some misconceptions about Bluetooth tracking, particularly with some confusing it with GPS tracking. We’ve documented how our Bluetooth tracking community works, as well as how it differs from GPS tracking:
- Learn more about community Bluetooth tracking and how it works.
- Learn about Bluetooth vs GPS tracking for equipment management.
Adding Places and Geofences
To get the most out of Bluetooth tool tracking, there are a couple things you can do.
Adding Places
You can add new places into One-Key where your inventory can be assigned. We define a place as:
- An ongoing project or job.
- A home base, a central location where your tools are located, like HQ, a tool crib, or warehouse.
- A vehicle, your projects on the move such as your work van or truck.
Adding Geofences
Once you’ve added your place, you can assign or transfer inventory here, and you can add a layer of security by setting up a Geofence around your place. A geofence is a virtual perimeter you can add around any of your locations in One-Key to build visibility to your tools, and ensure if they're spotted outside the boundaries you've set up for where they're assigned, you'll get notified.
You can add a geofence to your place.
Adding People and Collaborating with Multi-User Admin
If you’d like to store contact info on your team, or better yet, divide and conquer on inventory duties, you can do so easily with multi-user admin.

Add Person
You can add new contacts, or you’ll be able to import contacts from your device’s address book. What’s more, once you’ve imported your contacts, you’ll be able to contact them directly from One-Key—able to fire off a text, call, or email—saving you some time with a more seamless, uninterrupted workflow.
Multi-User Admin
If you want to divide and conquer, you can also invite people to interact with your One-Key account through multi-user, a great collaborative feature without the expensive licensing fees many inventory software suites will typically incur.
To add a new user to a One-Key multi-user account, you can do so by initiating a multi-user invitation on the web app. You’ll be able to decide the level of access they’ll have when initiating this invitation, or you can edit an existing role’s permissions by customizing it.
IMPORTANT NOTE: When inviting your team members, ensure that they do not currently have an existing One-Key account. Some of our One-Key users run into some problems when trying to invite a team member to join their account. Generally, problems arise when team members preemptively make their own One-Key user accounts, thinking this is the first step to joining an admin’s multi-user account.
- The problem: When you make a new One-Key account from scratch, you by default will be the admin on that account. When an admin then attempts to send you an invitation to join their account, they will get an error message from the system, essentially indicating that the email they’re trying to invite is already connected to another account.
- To avoid this problem: We recommend telling your team to wait for the admin to initiate a multi-user invitation. In this link, they’ll be sent to an account creation page that looks similar to creating a solo One-Key account but is linked to the admin’s account; once they’ve created their account using this link, they’ll be directed to a page where they’ll be able to accept or deny the request.