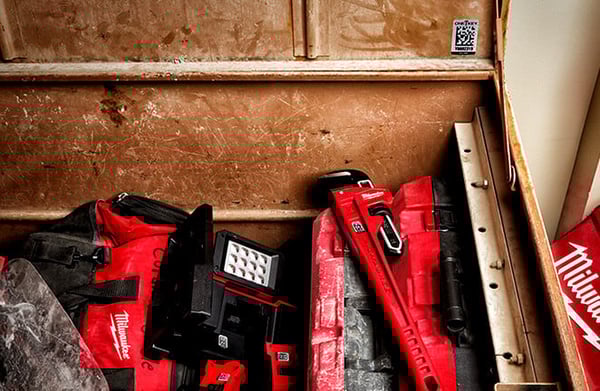
ONE-KEY™ Asset ID Tags provide greater durability and easier scanning than traditional barcodes.
While they’re built to withstand the harshest jobsite conditions, properly adhering them to your tool or equipment can help ensure they, like the tool they accompany, will enjoy a long and healthy lifespan.
In this article, we’ll advise you on how to properly apply a One-Key Asset ID Tag, ensuring the longevity of the tag is not compromised.
Find the right place for your label
First, determine the best area on the product to apply the label that offers minimal risk of abrasion or wear, while still being easy to access and scan. Examples include:
- Battery bay on tool
- On the inside of ladders
- In low-wear areas on tools and safety tethers
CAUTION: Do not cover tool markings or safety labels. Do not obstruct ventilation slots. Do not interfere with the safe operation of the tool, including the functionality switches, buttons, moving parts, LEDs, etc.
You’ll want to be sure that you have the right label for the material. For application on a metal surface, we recommend our metal tags, either small or large based on application surface. For plastic surfaces, we recommend our plastic tags, either small or large based on application surface.
Clean the surface area thoroughly.
To get a good bond, you’ll want to make sure that the area you’re applying the label is dry, dust free, and cleaned of all oil, grease and oxidized materials. The most common cleaning solution for surface area prep is Isopropyl Alcohol (rubbing alcohol). If you need a more industrial strength cleaner, check the manufacturer’s instructions to ensure that it will not damage the surface you’re cleaning before you apply it. Some rubbers and plastics are at risk of corrosion from the wrong solvents.
Pro Tip: Abrading a plastic surface can help with adhesion, but less is more. Do not use a grinder or coarse sander.
Once the area is clean, you can air dry, or wipe the surface dry with clean rags or absorbent paper towels, being sure to leave no lint or debris behind.
Apply the label
Peel label from the backing and firmly place in desired location. Using a roller or firm thumb pressure, press fully on the label two or three times. More contact at the point of application will help set the initial bond.
The adhesive will achieve 80% of its bond within an hour and will fully cure after a few days. If you need to get your equipment into circulation, we recommend waiting at least that first hour for the adhesive to set.
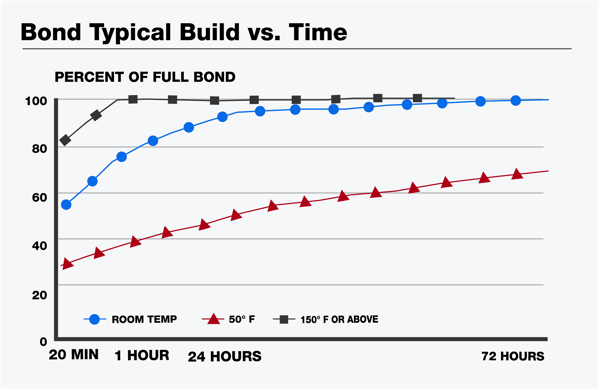
Pro Tip: The best environment to apply a label is at room temperature (60-70 degrees). If your work area is colder, allow longer time to cure
Your Asset ID Tag has been applied and now, with each scan, the One-Key app will update the location of your tool.
After installation, take care to use only mild soap and a damp cloth to clean, since certain cleaning agents and solvents may damage the label, adhesive, or product it’s on.