One-Key won’t get in the way if you already have an established system of labeling and organizing your own equipment. Use the Add Tool Number feature to customize the names/number of the most essential items in your inventory so they’re always right at your fingertips.
Get started on your desktop computer
-
Log in to your One-Key account from your desktop computer.
- The homepage, or Inventory Dashboard, will display on your screen.
Use the Add Tool Number feature
Keeping track of multiple tools of the same type can be a pain, especially if the only way you have to refer to individual items is with long strings of serial numbers and barcodes. One-Key simplifies things by letting you customize the labels of your tools so you can organize them your way.
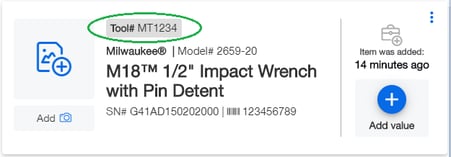
1. Starting from the Inventory Dashboard, click on the item you would like to customize. The information card will display on your screen. Notice the Tool# box.
2. Click on the overflow menu in the upper right corner of your tool’s information card.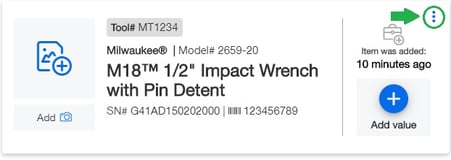
3. Then click on the “Edit” button.
4. Now go to the “Tool number” space in the bottom left of the Model Information page and enter in the custom name/number of your tool.
5. Click the blue “Save” button on the bottom right of the page when you’re finished.
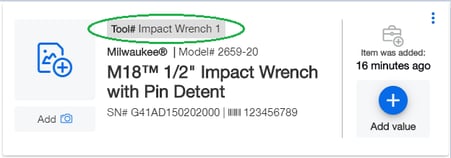
Now the custom name/number of your tool will display in the Tool# box on your tool’s information card.
Appending your own custom names or numbers to your tools is a great way to keep better track of them in One-Key.